19 June 2025
Building Your Own LEGO® Display Case: A Step-by-Step Guide
Got shelves full of LEGO builds that deserve better than sitting in the open? Building your own display case is a satisfying DIY project, and a budget-friendly way to protect and show off your sets. This guide walks through the whole process, from gathering materials to the finishing touches.
1. Plan Your Display Case
Work Out the Size
Start by measuring the LEGO sets you want to display, including the height, width, and depth of your largest model. That's what determines your case dimensions. If you own something like a large Star Wars Millennium Falcon set, for instance, you'll need enough vertical and horizontal room to fit it comfortably.
Pick a Style
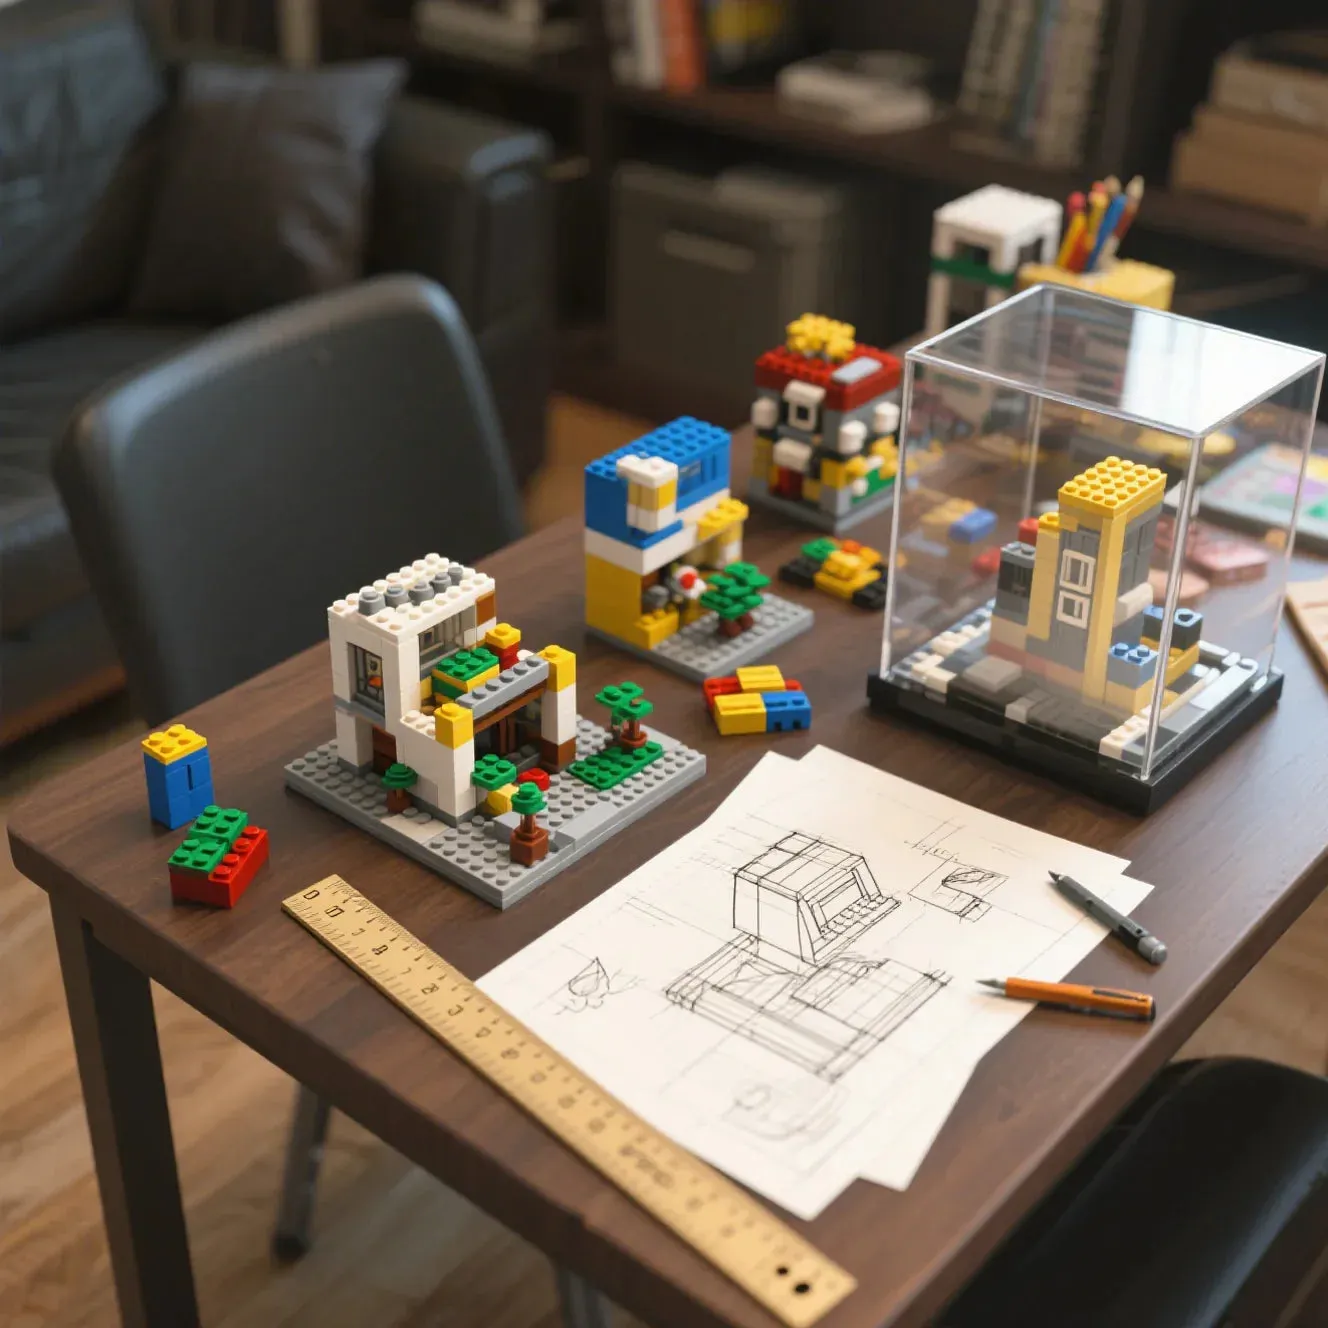
There's more than one way to build a LEGO display case: a simple wall-mounted shelf, a multi-tiered cabinet, or a sleek display box. Think about how it needs to fit the room. In a minimalist space, a clear acrylic case usually works best.
Sketch It Out
Once you know the size and style, sketch a design on graph paper or in a digital tool. Note the measurements, where each shelf will go, and any extras like lighting or doors. This sketch becomes your blueprint for the rest of the build.
2. Gather Your Materials
Wood or Acrylic?
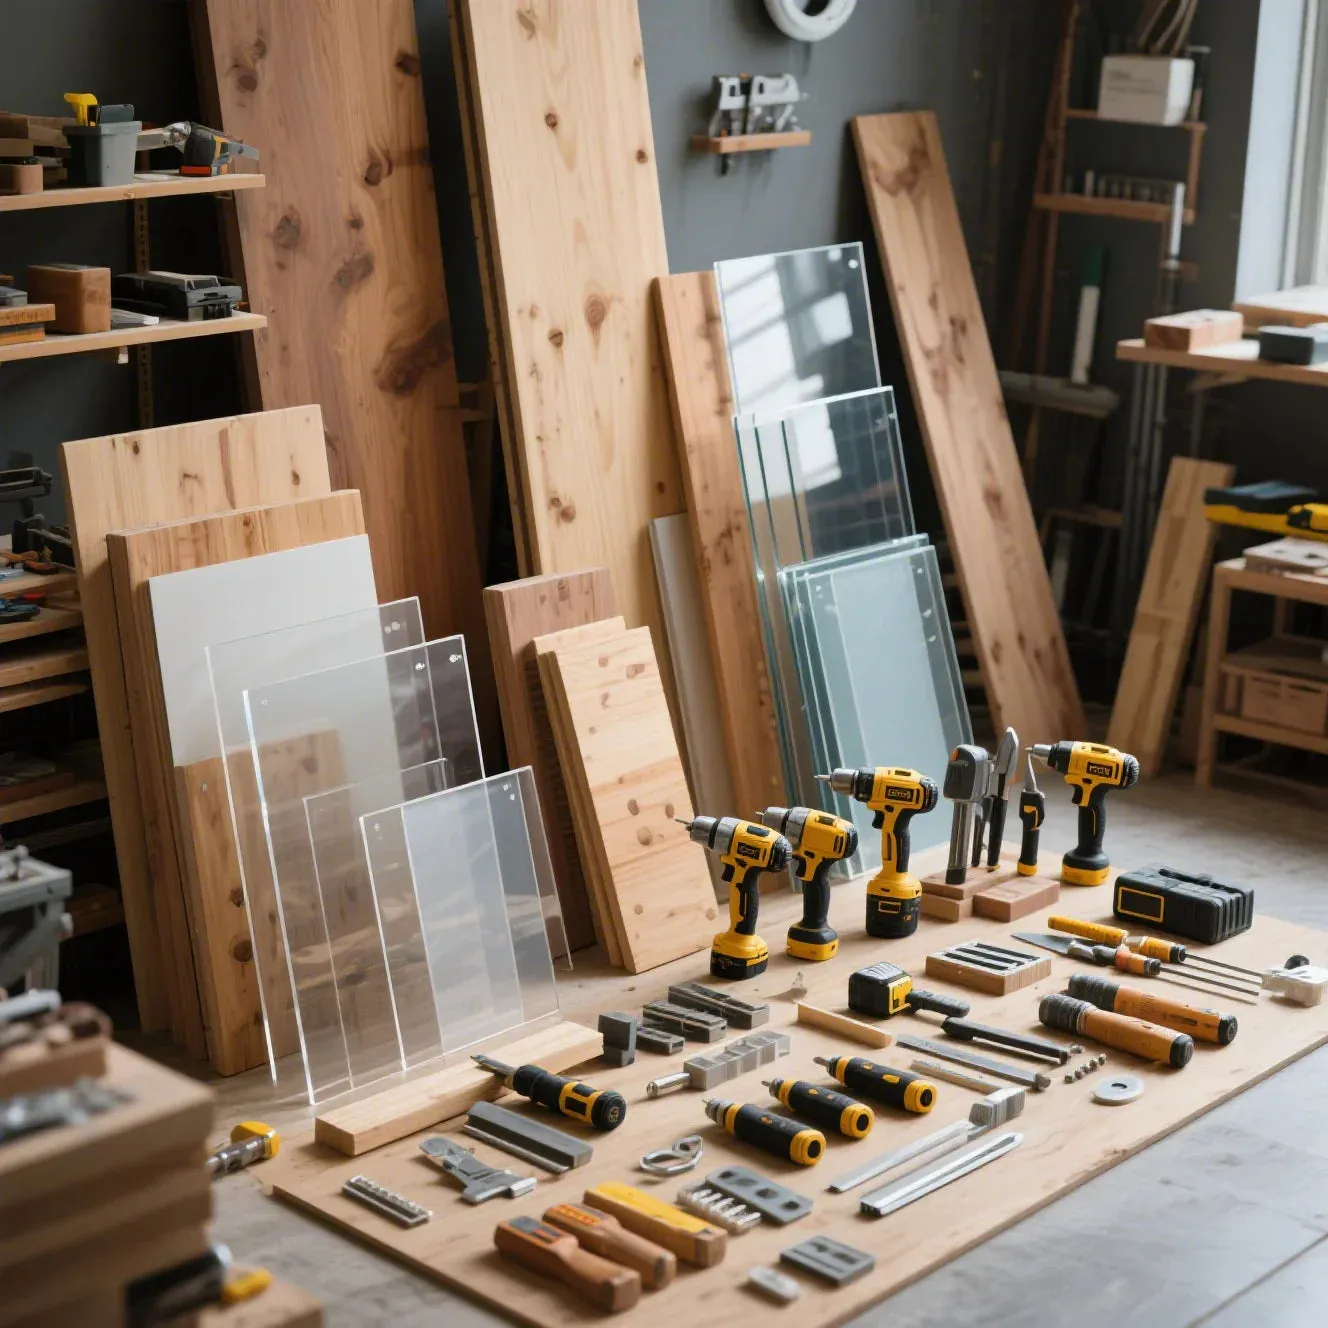
Wood and acrylic are the two go-to materials. Wood gives you a classic, sturdy look and is easy to customize, with plywood, MDF (medium-density fiberboard), or pine as common choices. Acrylic is lighter, transparent, and gives a more modern finish, with nothing blocking the view of your sets. Pre-cut acrylic sheets are available from hardware stores or online.
Tools
The tools you need depend on your material. For a wood case: a saw (table saw or hand saw), a drill, screws, a measuring tape, a level, and sandpaper. For acrylic: a ruler, a utility knife, a heat gun for bending, and acrylic adhesive.
Other Supplies
Also gather hinges if you're adding doors, handles, LED strip lights for illumination, and non-slip pads to keep your sets from sliding around.
3. Cut Your Materials
Measure Twice, Cut Once
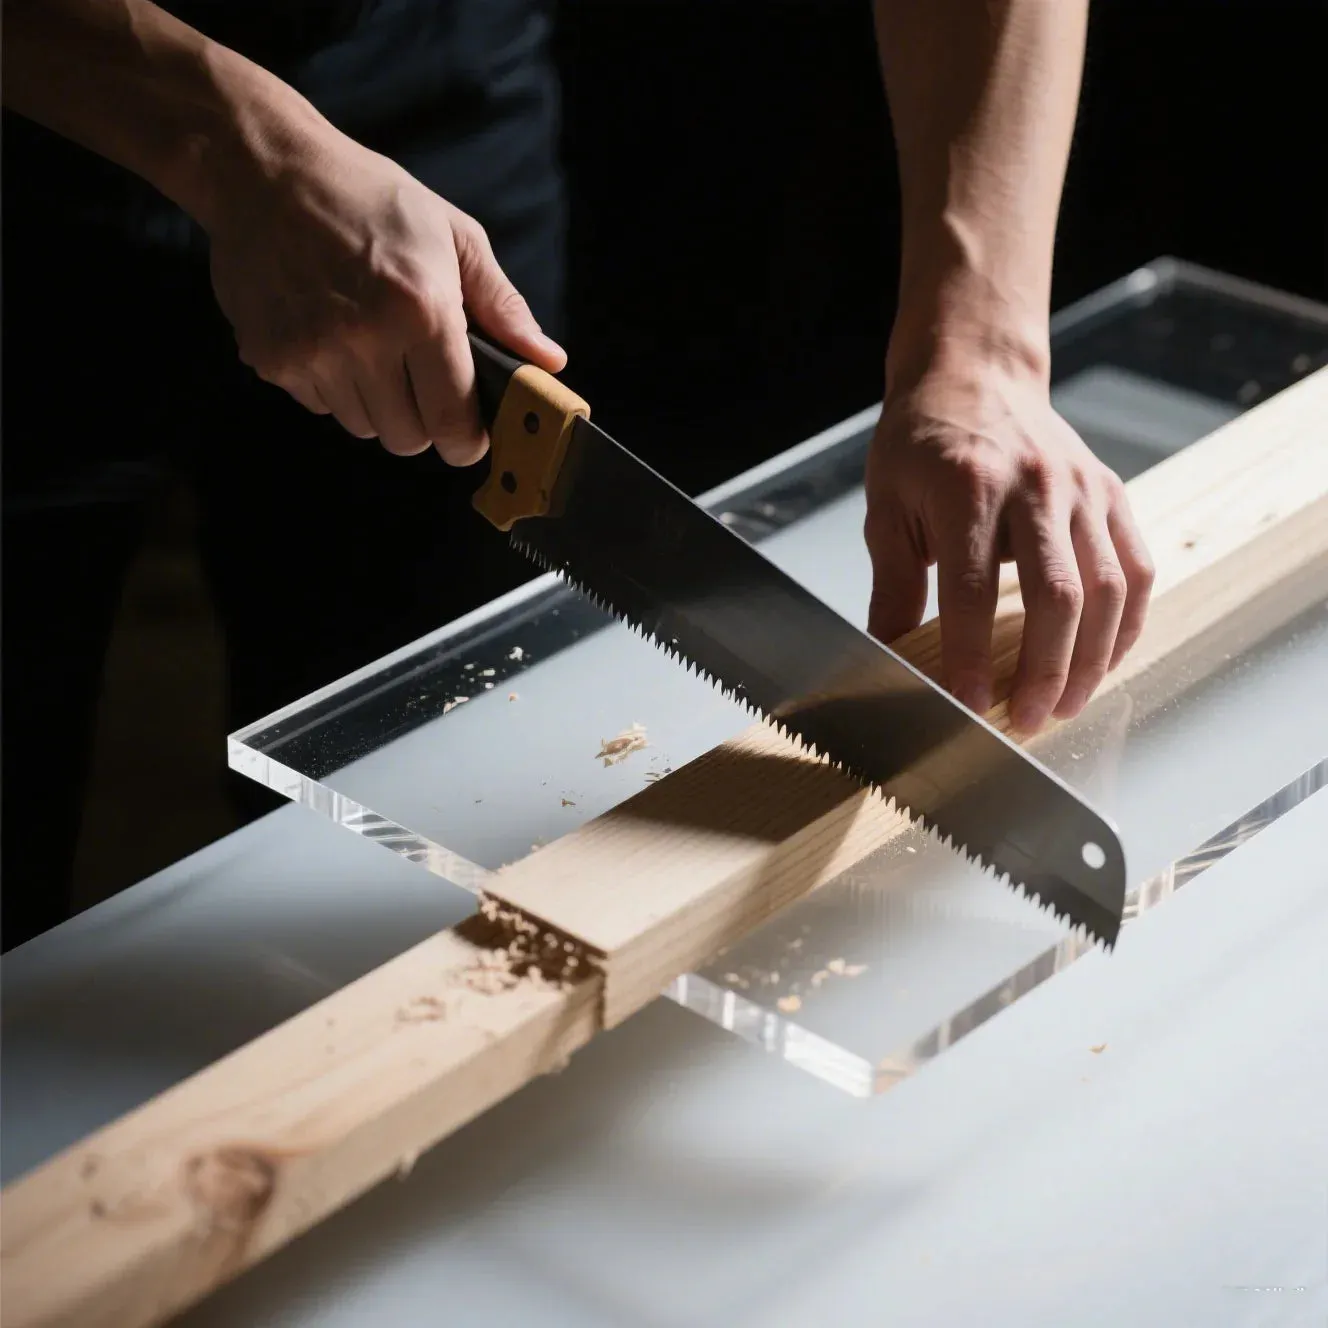
Accurate measurements matter no matter which material you're using, so double-check everything before cutting. For wood, mark your measurements with a pencil and straight edge, then cut with a saw. For acrylic, score the surface with a utility knife and straightedge, then bend gently along the scored line. A heat gun softens the acrylic for tighter bends.
Sanding and Finishing
Once the wood pieces are cut, sand the edges smooth to avoid splinters and give the case a cleaner finish. For acrylic, check the edges are clean with no rough spots, and use fine-grit sandpaper or a polishing compound to get that crystal-clear look.
4. Assemble the Frame
For Wood Display Cases
Assemble the frame first, joining the pieces at the corners with screws and a drill. Check the corners are square with a carpenter's square or right-angle clamp, and reinforce the joints with corner brackets for extra stability. When adding shelves, mark their positions on the side panels and attach them with screws or wood glue.
For Acrylic Display Cases
Apply acrylic adhesive to the edges of the sheets and join them carefully, using clamps to hold everything in place while it dries. Clear acrylic corner connectors give a more secure, cleaner-looking finish. For shelves, use acrylic supports or brackets to hold them steady.
5. Add Doors or Covers (Optional)
Installing Hinges
If you want extra protection from dust and damage, add doors or covers. For wood doors, attach hinges to the door and frame with screws, and check that they open and close smoothly. For acrylic covers, magnetic strips or small clips work well to hold them in place.
Handles and Locks
Add handles for easy opening, and if you want to keep the case secure, install a lock. Key locks and combination locks both work fine here.
6. Install Lighting (Optional)
LED Strip Lights
Lighting makes a real difference to how a LEGO display case looks. LED strip lights are the easy choice: energy-efficient, simple to install, and available in a range of colors. Measure the case and cut the strip to fit, peel off the adhesive backing, and stick it along the top or bottom edge. Connect it to a power source with a power adapter or battery pack.
Dimmer Switches
A dimmer switch gives you more control over the mood, letting you adjust brightness to suit the room.
7. Place Your LEGO Sets
Organizing Your Collection
Before loading up the case, take a little time to organize your collection. Grouping sets by theme, size, or color usually gives the best-looking result. Risers or small platforms can add height and depth to the layout.
Securing Your Sets
Use non-slip pads or adhesive putty to keep your sets from shifting or tipping over, especially if the case might get moved, or if you have kids or pets around.
8. Add the Final Touches
Cleaning and Polishing
Once everything's in place, give the case a final clean. Wipe surfaces down with a microfiber cloth to clear dust and fingerprints. For acrylic, a dedicated acrylic cleaner gives a streak-free shine.
Personalizing Your Display
Labels, nameplates, or custom artwork add a personal touch. You can also pull minifigures out and display them separately on small stands or in glass domes for some variety.
A Few Tips
- Dry-fit first: before fully assembling the case, put the pieces together without fixing them to make sure everything lines up. It saves time and frustration later.
- Stay safe: wear safety goggles with power tools and follow the manufacturer's instructions. If you're using a heat gun on acrylic, work in a well-ventilated space and keep the gun a safe distance from the material.
- Make it yours: paint the wood, add decals, or experiment with different lighting to make the case genuinely your own.
Building your own LEGO display case is a genuinely rewarding project. With some planning, basic tools, and patience, you can put together something that looks great and holds up well. Roll up your sleeves and get started whenever you're ready.
Why DIY When You Can Have a Museum-Quality Display in Minutes? KABO Acrylic LEGO Cases
Building your own case can be a fun project, but it takes real time and effort. Between sourcing materials, cutting, sanding, and assembly, it also calls for skills like precise measuring and tool handling. One mistake along the way and the finished result can fall short.
KABO acrylic display cases skip all of that. Each one is made from high-clarity, scratch-resistant acrylic and comes with adjustable LED lighting strips and multi-layer modular dividers already built in. There's no complicated setup, just unpack it and start displaying. Whether it's a large Star Wars starship or a delicate street-view model, our cases are built to show it off properly with matching lighting and tiered layouts.
Skip the DIY work. Visit the KABO official website and give your LEGO sets the museum-quality presentation they deserve.
See KABO's Display Cases in Action
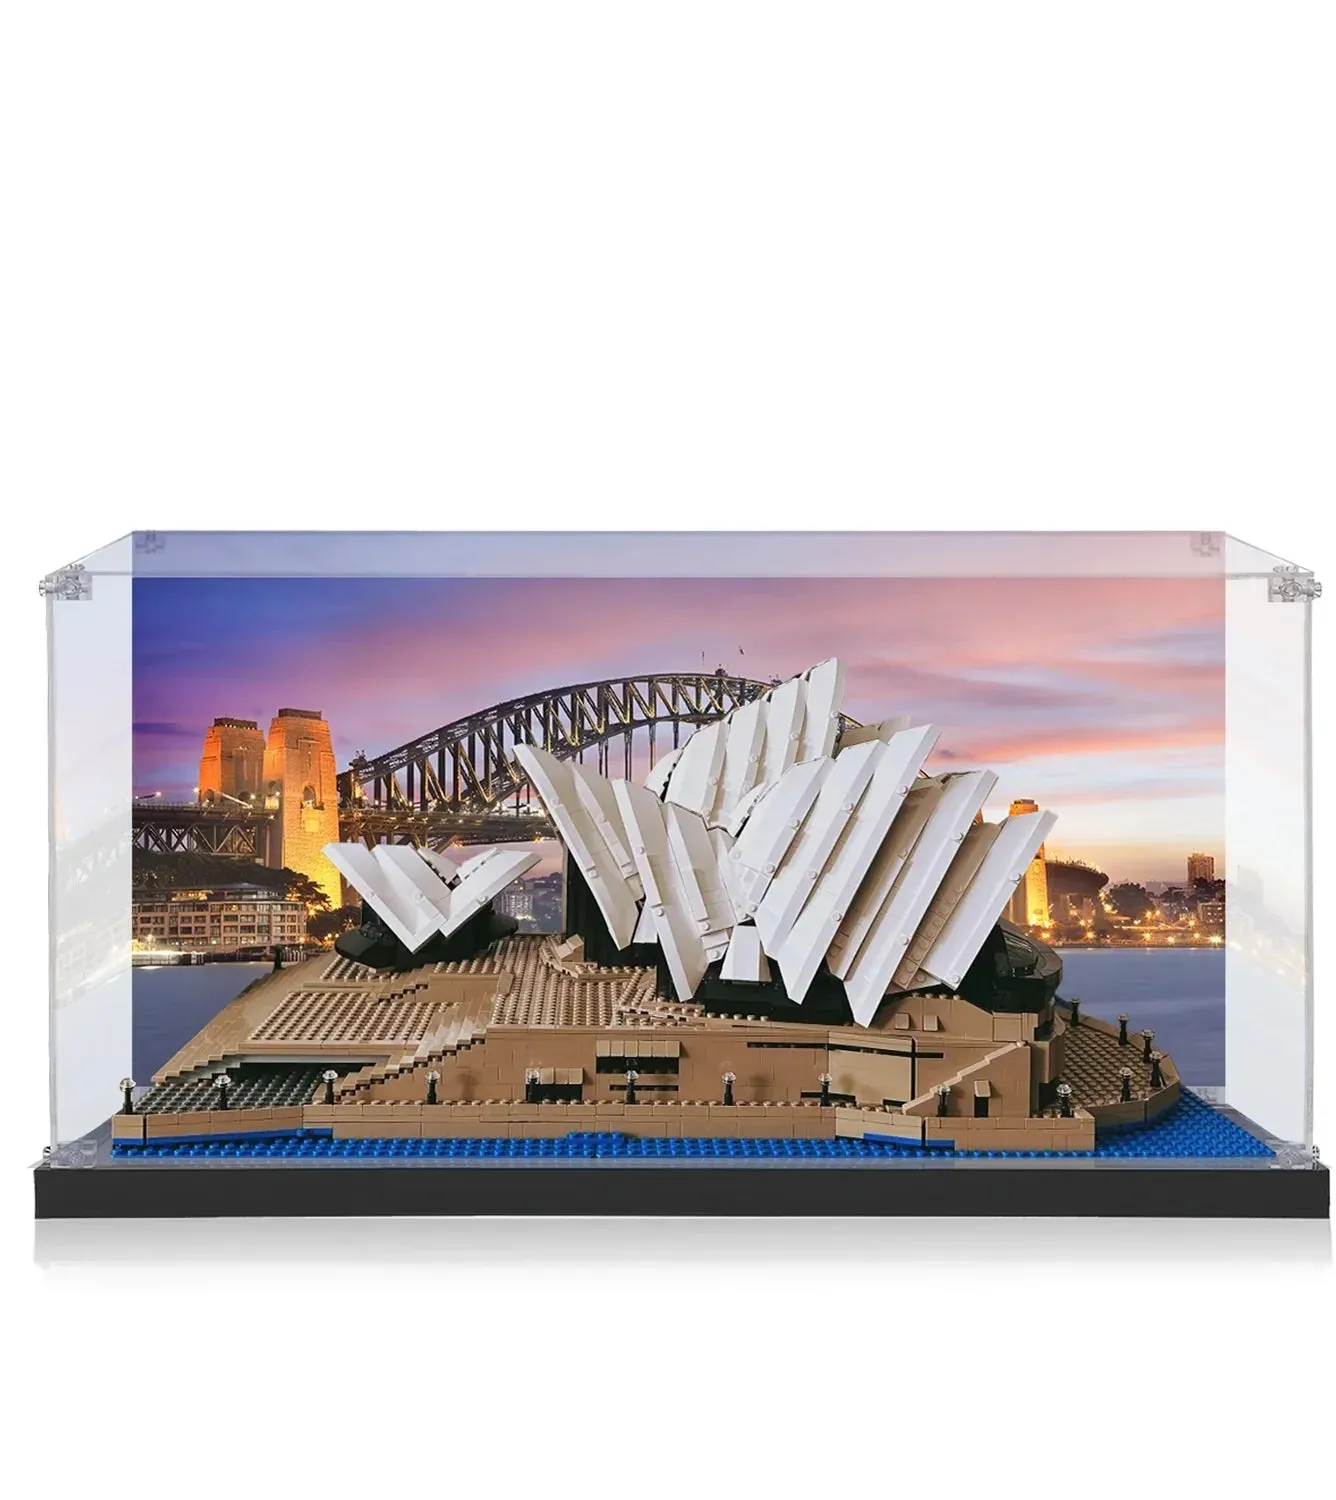
Display case for LEGO® Creator 3-in-1 Sydney Opera House™ 10234
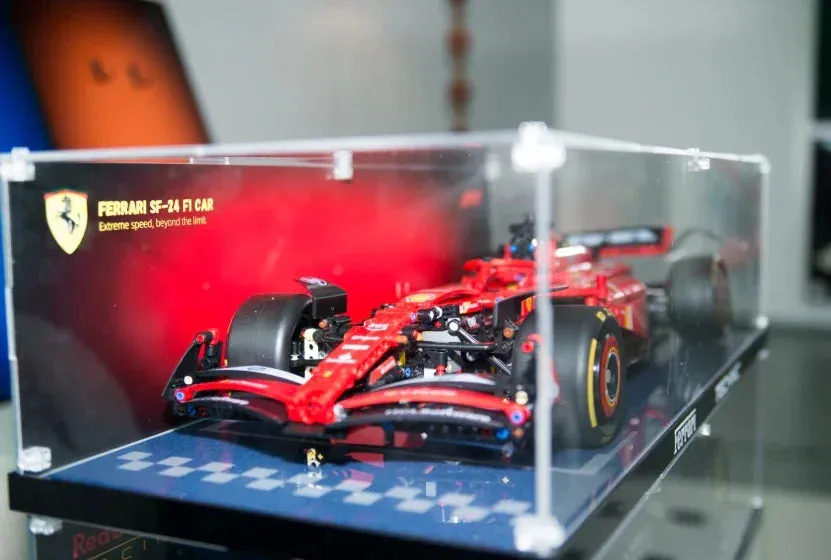
Display case for LEGO Formula 1™ car (1 :8 scale)
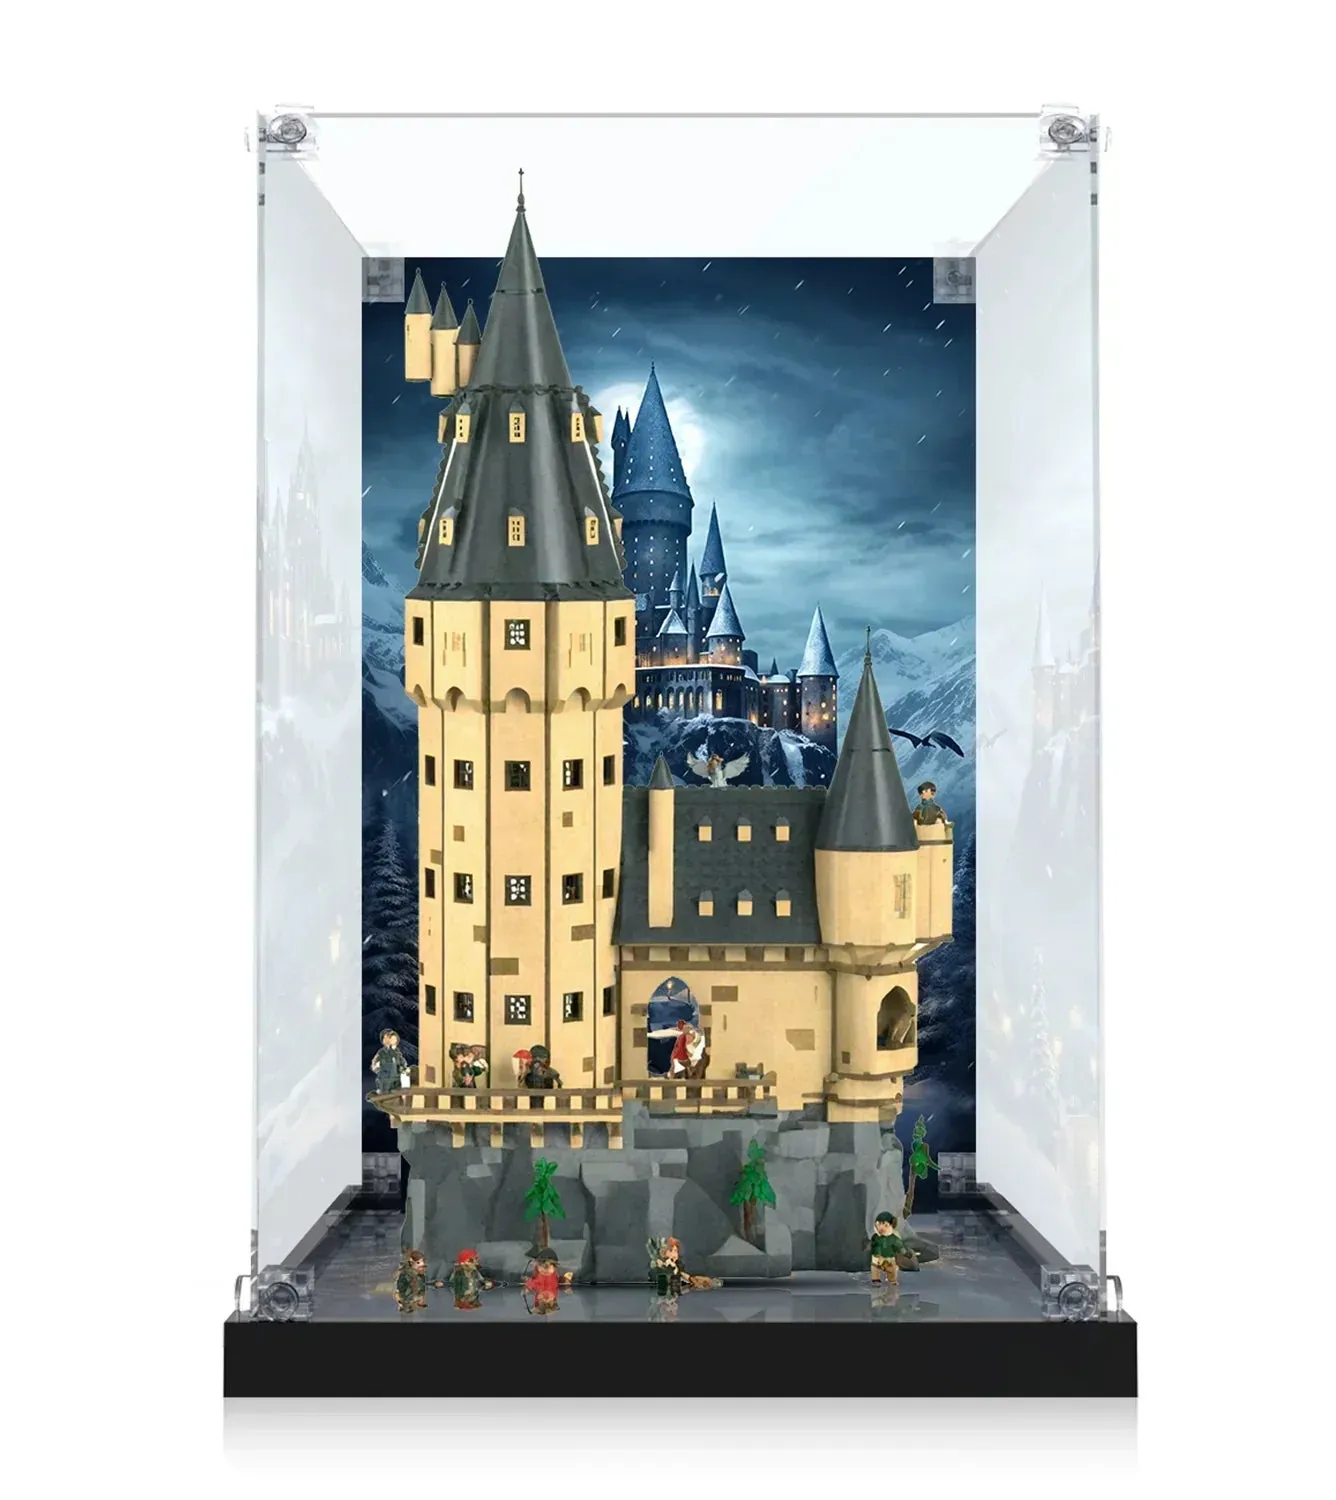
Display case for LEGO® Harry Potter™ Hogwarts™ Castle: The Main Tower 76454